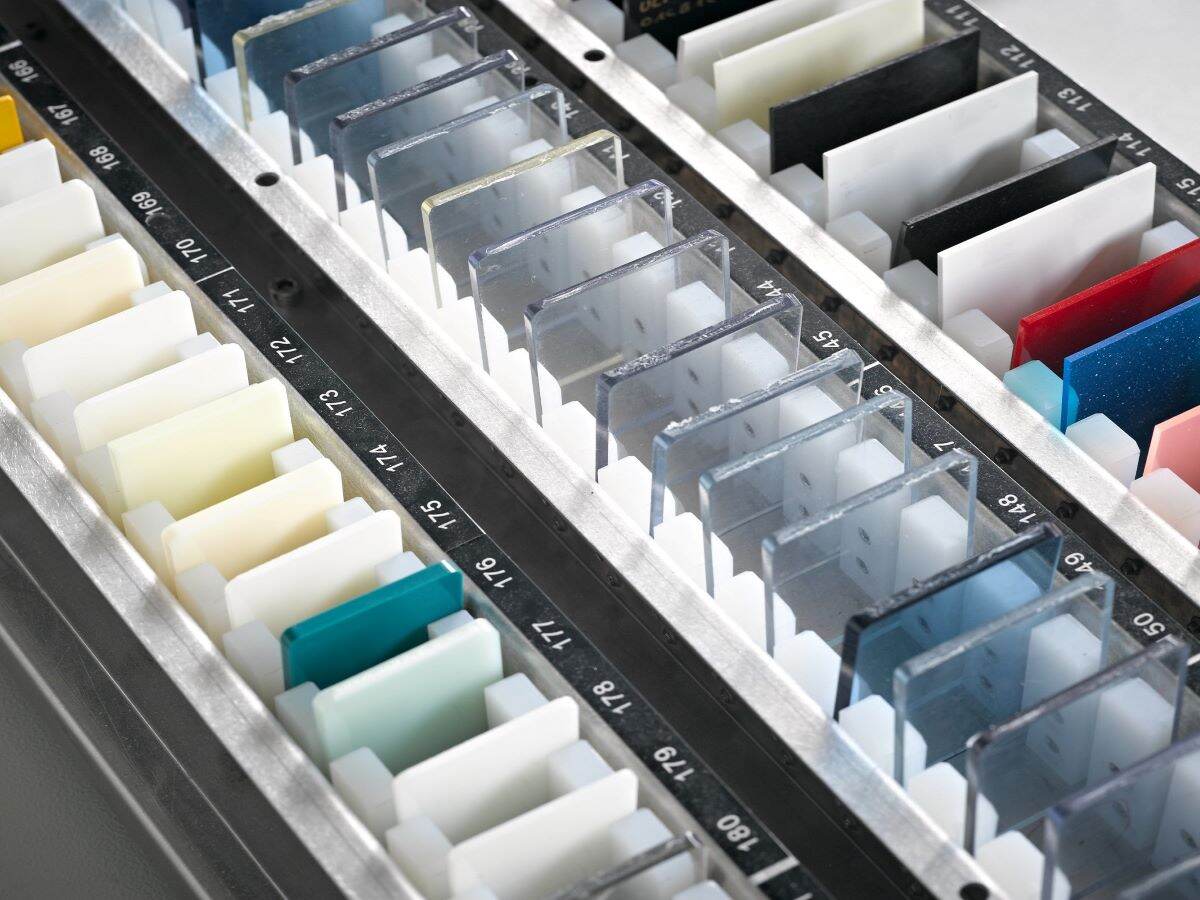
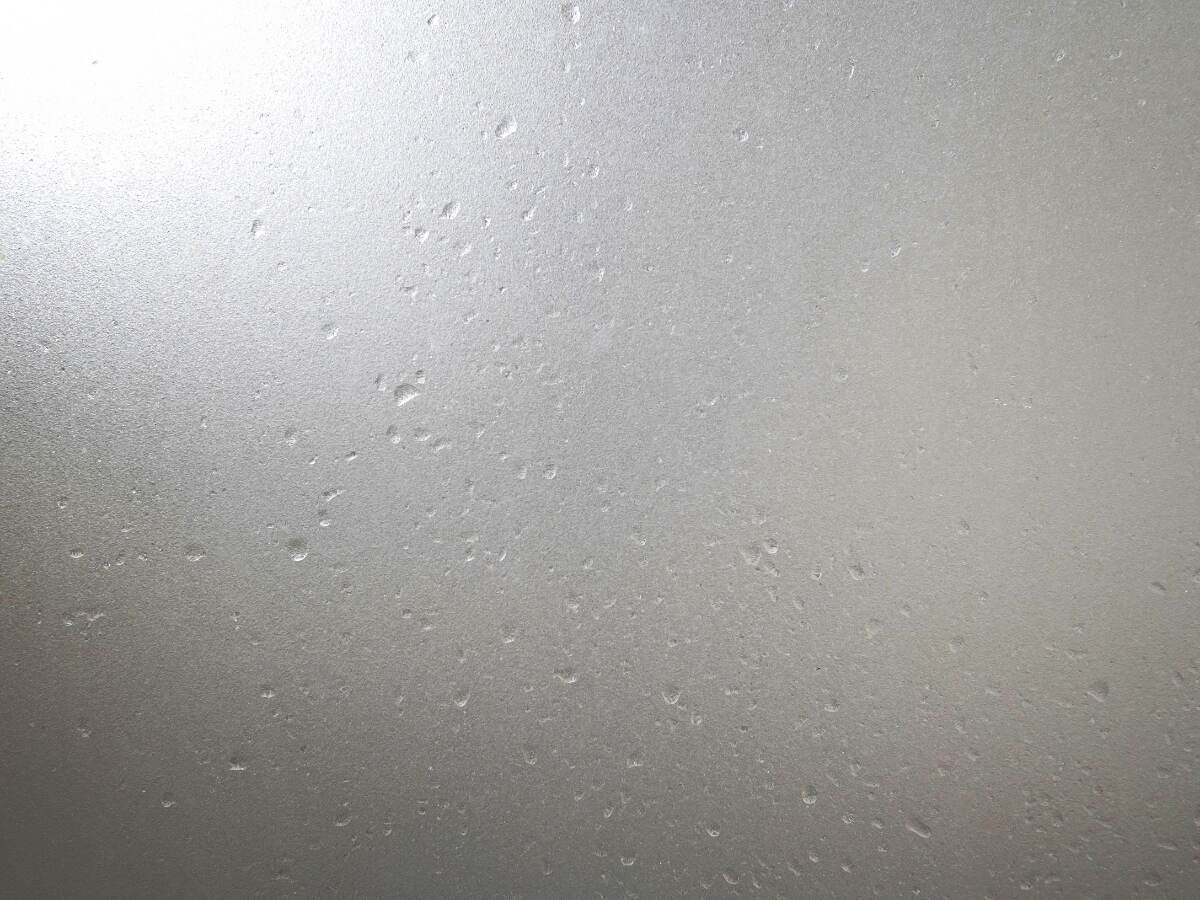
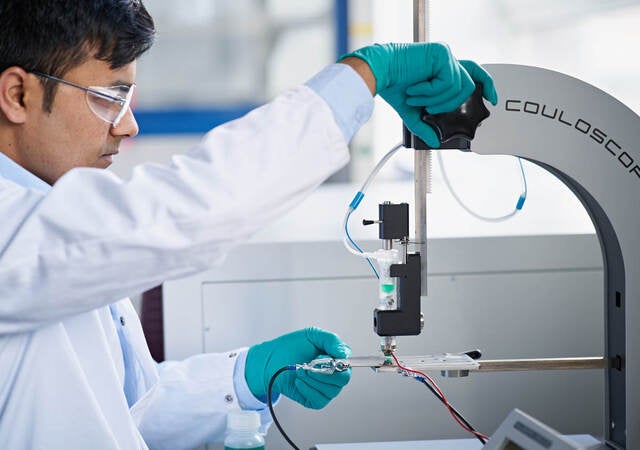
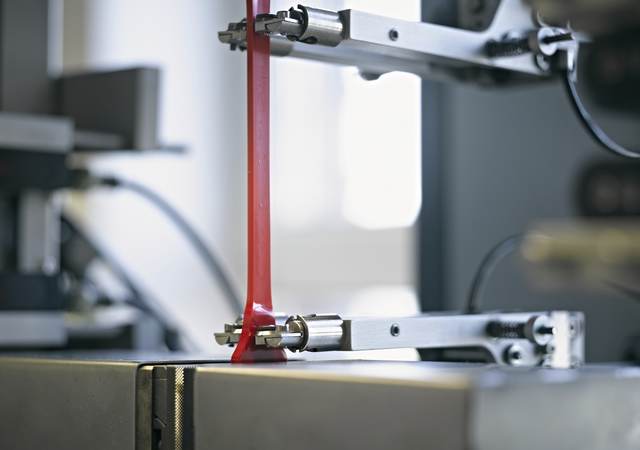
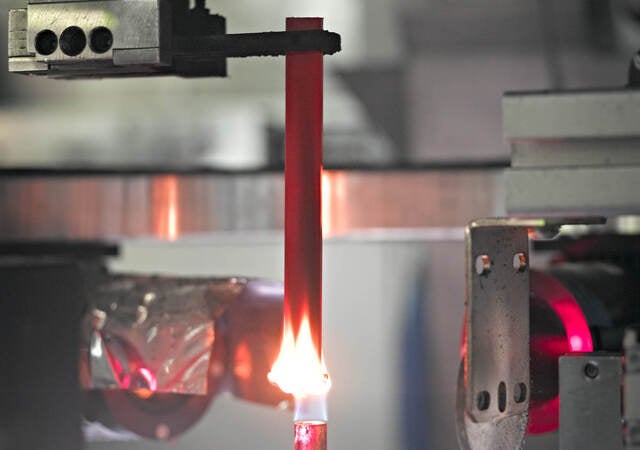
The visual appearance of automobiles and their interior and exterior components play a major role for drivers. Every surface is affected by a variety of everyday influences, including weathering, liquids, scratching, touching, etc. Drivers want these surfaces to look colorful, glossy and bright, even after years of exposure and use. Thus, one of the top priorities for original equipment manufacturers (OEM) is the endurance and the quality of the visual appearance of these products.
At UL Solutions, we can help you demonstrate compliance of your automotive components’ visual appearance to industry requirements. With our in-depth knowledge regarding the automotive industry and the OEM requirements, as well as our experience in performance testing, we offer a wide range of test methods for determining the optical properties of plastic materials, such as:
- Color measurement
- Gloss index
- UV/VIS/NIR measurement
- Haze measurement
- Gray scale determination
- Reflected-light microscopy image recording
Gloss index
This test method is used to determine the gloss properties of a surface. It helps to determine the impact of external influences on the visual appearance of a component. These stresses can include processing, after-treatment, light aging, weathering and temperature aging. The respective gloss level is measured using a reflectometer.
Standard measuring geometries for gloss index:
20°, 60° and 85°
The gloss index can be tested on finished parts, as well as on small test specimens with a flat surface. In our laboratory, we can help you produce test specimens with the following dimensions:
| Test specimen | Optical sample sheet |
|---|---|
| Basic dimensions | 80 mm x 80 mm x d |
Common standards for gloss index
ISO 2813, ASTM D523, or equivalent standards
Color measurement
Color measurements are used to assess color changes induced by various stresses. The following characteristics of a specimen are measured or calculated in an automatic spectral photometer with the help of the CIELAB table system:
- Transmittance
- Reflectance
- Yellowness index
- L*a*b* values
- Standard color values XYZ
- Delta E
- Spectral analysis
Color can be measured on finished parts and on small test specimens with a flat surface. We can help you produce test specimens with the following dimensions:
| Test specimen | Optical sample sheet |
|---|---|
| Basic dimensions | 60 mm x 40 mm x d |
Common standards for color measurement
DIN 5033, ASTM E179, ASTM E313, ISO 13468-2, or equivalent standards
UV/VIS/NIR measurement
In material research, it is sometimes necessary to assess test specimens with a high absorption capacity, such as laser protection lenses, optical filters and polarisation materials. Most specimens of this kind have to be investigated across the visible electromagnetic spectrum — from UV through VIS to NIR.
Haze measurement
This test method for transparent products is used to determine the translucency of a material. Following various load tests, such as processing, after-treatment, light aging, weathering and temperature aging, an automatic optical measuring system evaluates all important criteria that determine the transparency of the test specimen.
Criteria: total transmission, haze, and clarity
Common standards for haze measurement
ASTM D1003 or equivalent standards
Gray scale determination
By means of the gray scale determination, the optical surface change is identified after undergoing different stress loads. These stresses can include processing, after-treatment, light aging, weathering and temperature aging. The specimen color difference is compared with the gray scale sections. The tested specimen is given the number closest to the color fastness level on the gray scale.
Gray scale can be determined on finished parts, as well as on small test specimens with a flat surface. In our laboratory, we can help you produce test specimens with the following dimensions:
| Test specimen | Sample sheet |
|---|---|
| Basic dimensions | 60 mm x 40 mm x d |
Common standards for gray scale determination
ISO 105-A02 or equivalent standards
Get connected with our sales team
Thanks for your interest in our products and services. Let's collect some information so we can connect you with the right person.


