Our mechanical testing services for the automotive industry
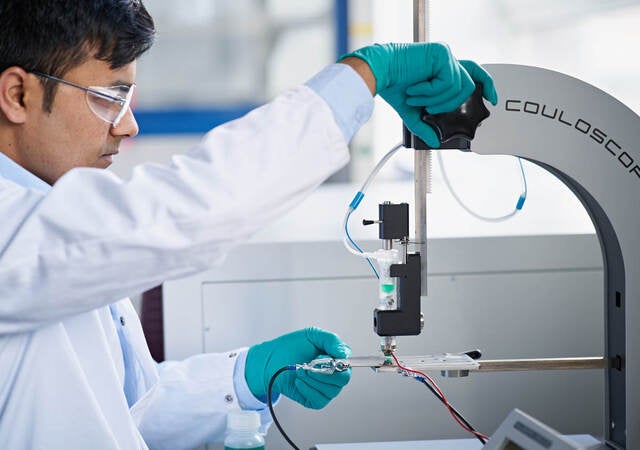
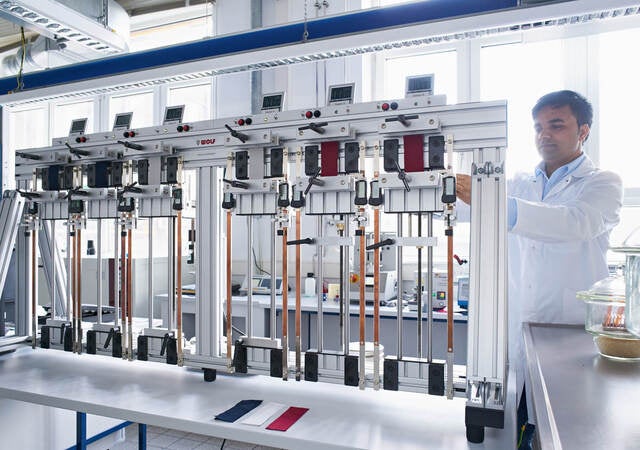
With our global network of laboratories and experts, we provide mechanical tests according to standards of the automotive industry and other industries. This service can be used at every stage from development to production, from testing of the properties of the raw materials to the study of the properties of finished components.
UL Solutions offers a selection of mechanical test procedures, with an emphasis on automotive plastic materials:
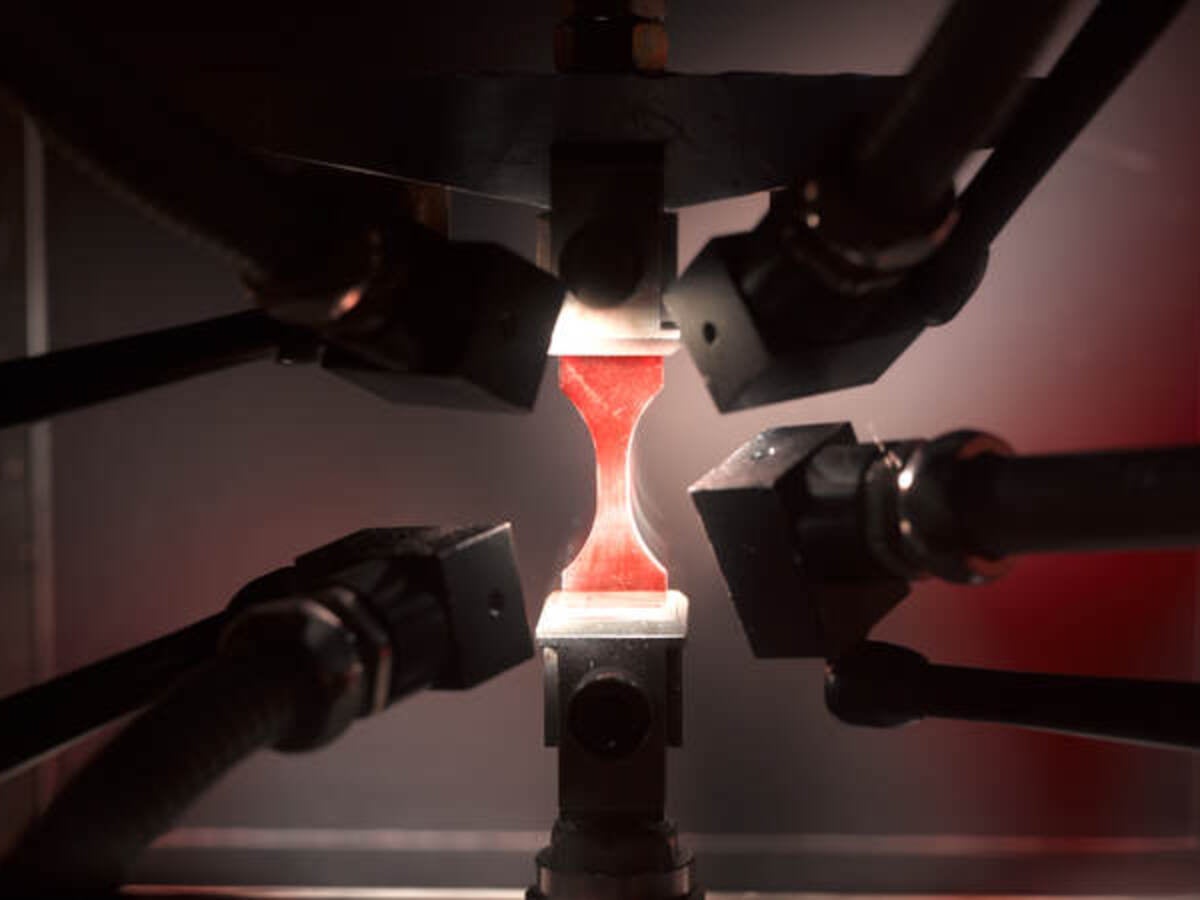
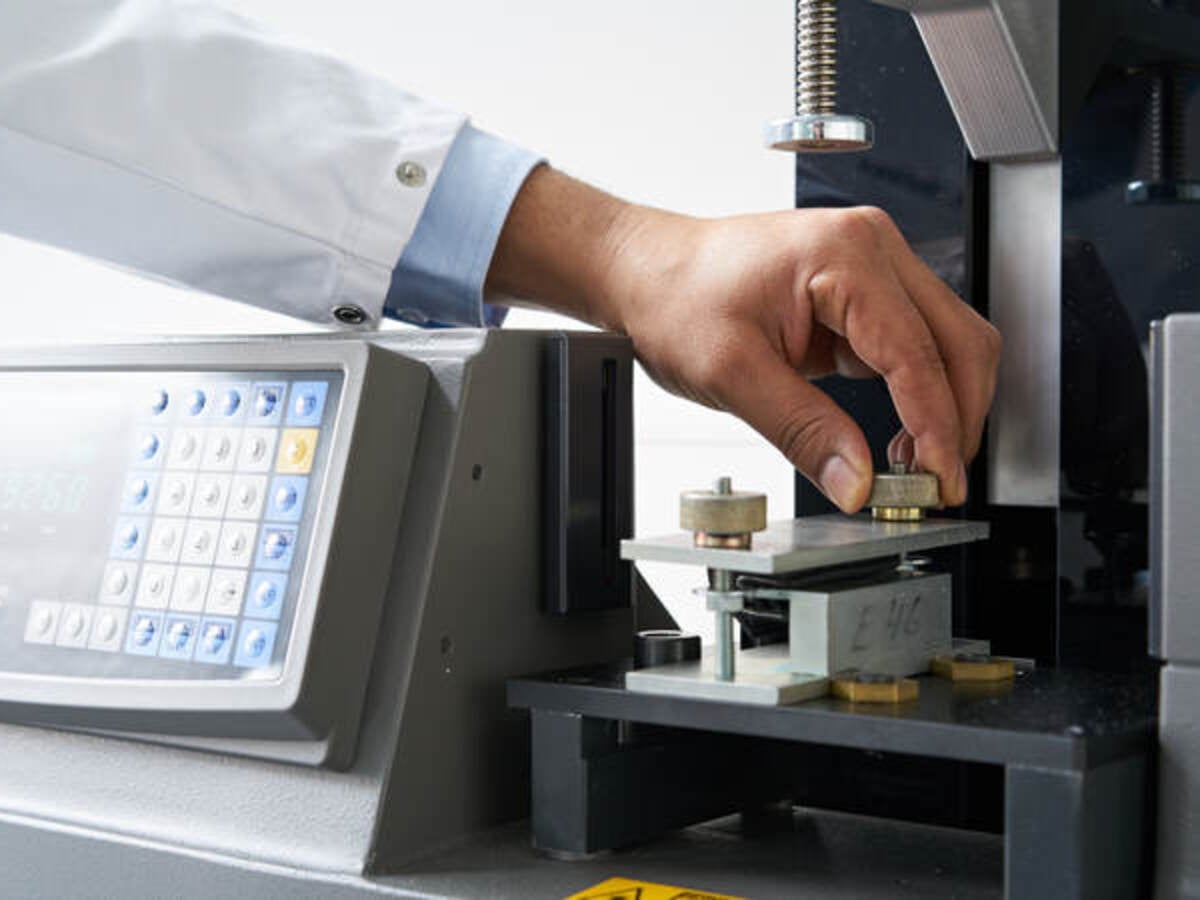
Tensile tests for plastic materials
This test method is used to assess the behavior of plastics when subjected to uniaxial tensile stress. The advantage of the tensile test is that even ductile materials can be tested to complete break point. The elasticity modulus (E modulus) serves as a parameter for comparing different materials and is a measure of stiffness. The test is possible within a temperature range from –40°C to +230°C.
Common standards for tensile test with E modulus
DIN EN ISO 527, DIN EN 20527, DIN 53455/53457, DIN EN 61, ASTM D638, or equivalent standards
Results of the Tensile test method
Values for stress and strain such as:
- Tensile modulus Et [MPa]
- Tensile stress at yield σY [MPa]
- Tensile strain at yield εY [%]
- Tensile stress at break σB [MPa]
- Tensile strain at break εB [%]
- Nominal tensile strain at break εtB [%]
- Stress-strain curve
Multiaxial impact testing
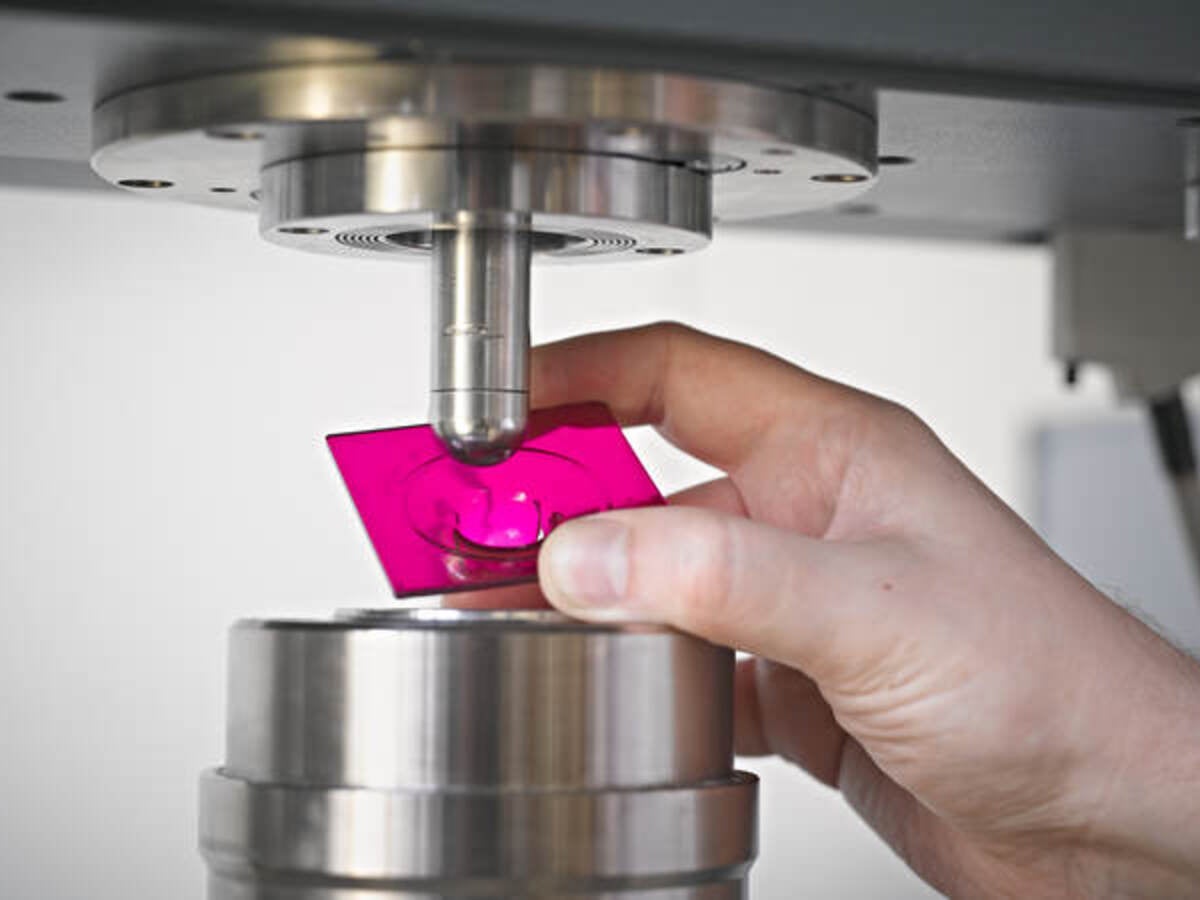
The instrumented test in accordance with this standard describes a test method that is used to determine the penetration behaviour of solid plastics. An impactor is moved towards the test specimen at right angles at a constant speed and penetrates it. The test can be conducted within a temperature range from –40°C to +80°C.
Common standards for multiaxial impact test
ISO 6603-2 or equivalent standards
Results of the multiaxial impact test method
- Force and deflection values such as:
- Maximum force FM [N]
- Deformation at maximum force IM [mm]
- Energy to maximum force EM [J]
- Puncture deflection lP [mm]
- Puncture energy EP [J]
- Stress-strain curve
Izod and Charpy Impact Test
The Charpy impact test is a quick and simple test to facilitate a comparative material assessment.
Amongst other things, it is used to investigate the effects of changed formulation, compounding or injection molding conditions on the test specimen.
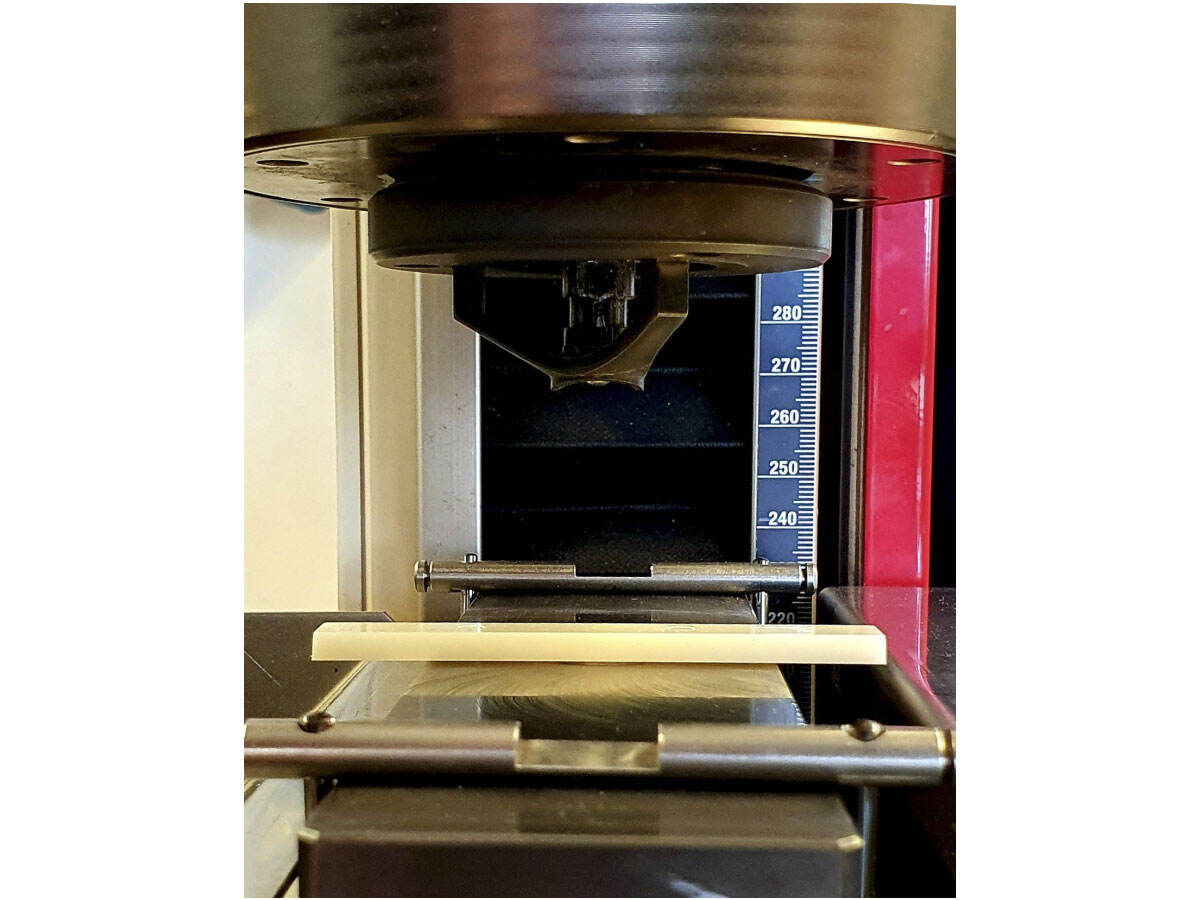
In the Charpy test, the test specimens are subjected to stress in a set-up similar to the three-point loading test and broken as soon as they are sufficiently brittle. Notched test specimens must be used in order to produce a break in ductile materials. The test is possible within a temperature range from –60°C to +80°C.
Common standards for Charpy impact test
ISO 179, DIN 53453*, ASTM D256, or equivalent standards
Common standards for Izod impact test
ISO 180, ASTM D256, or equivalent standards
*Standard withdrawn
Results of the Charpy impact test method
- Charpy impact strength of an unnotched specimen aiU [KJ/m²]
- Charpy impact strength of a notched specimen aiN [KJ/m²]
- Incl. break assessment at the corresponding temperature and, where applicable, a rubber-glass transition
Key to method
Example: ISO 179/1 e A
| Type of test specimen | Direction of impact | Notch depth |
|---|---|---|
| 1 flat test specimen with dimensions l x b x h | e = edgewise f = flatwise |
U unnotched A notch with 0.25 mm radius B notch with 1.00 mm radius C notch with 0.10 mm radius |
| Type of test specimen | Length l | Width b | Thickness h |
|---|---|---|---|
| 1 | 80 | 10 | 4 |
| 2 | 25 x h | 10 or 15 | 3 |
| 3 | 11 x h or 13 x h | 10 or 15 | 3 |
All dimensions in mm.
Dupont Impact Tester
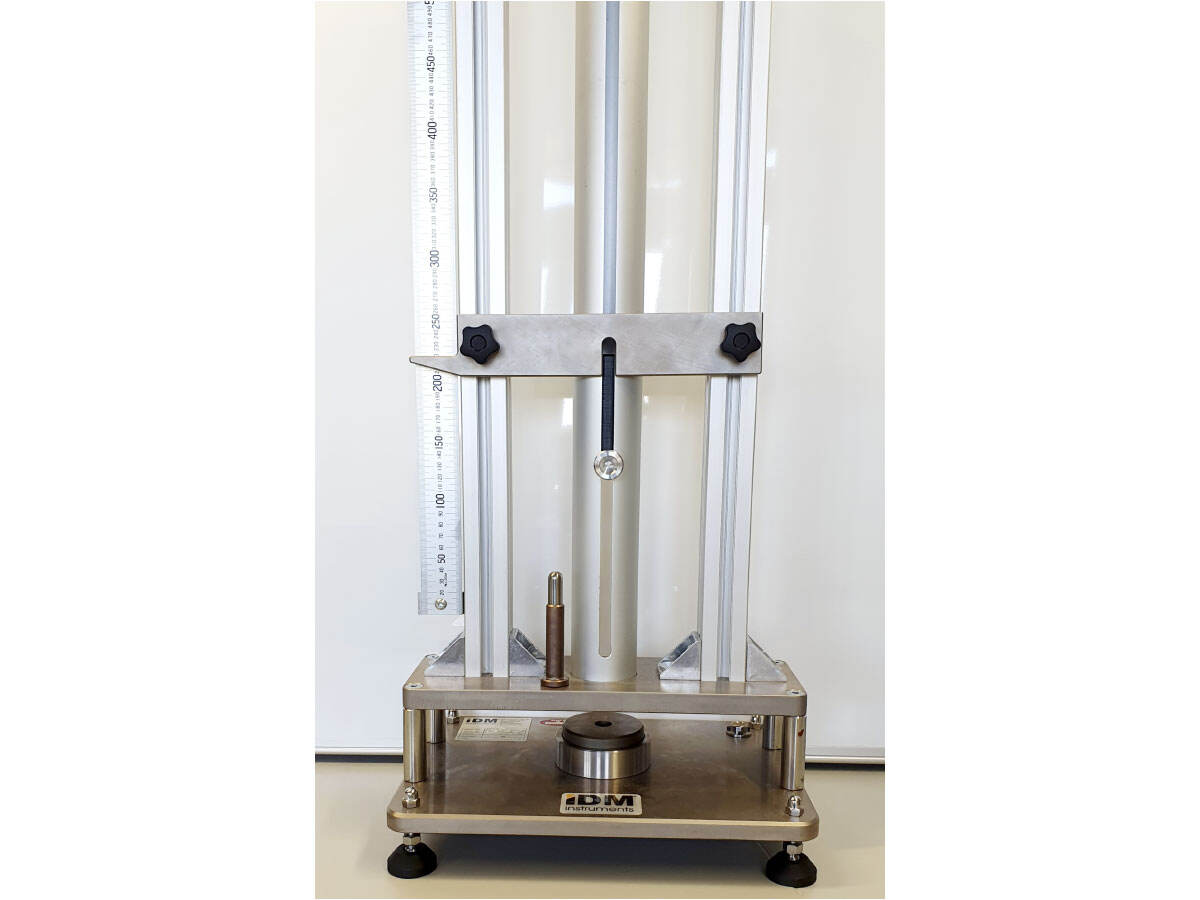
Dupont impact tester is designed to test the impact resistance of coating materials.
The DuPont impact tester has been designed to test the endurance of coated material, when impacted by a falling weight at specified points. The purpose of the test is to see if test specimens can resist the effect of rapid impact testing.
Common standards for Dupont impact test
ASTM D2794, JIS K5400, ISO 6272, CNS 10756
Ball Indentation
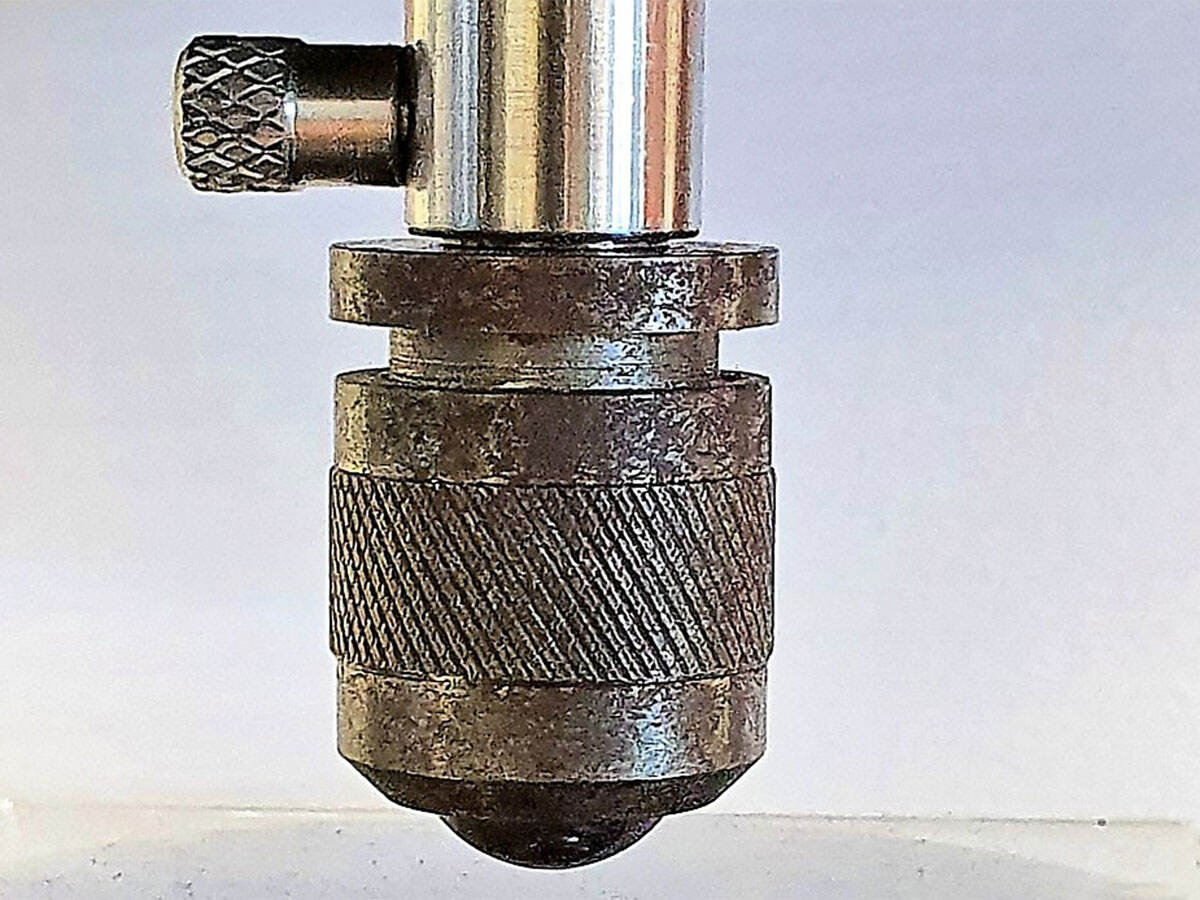
The ball indentation hardness is the quotient of the applied load and the surface area of the impression that is present underneath a ball after 30 s at a given load.
The results are required for research and development, quality controls and acceptance or rejection based on specifications. The test method is also suitable for hard rubber.
Common standards for ball indentation
ISO 2039-1 or equivalent standards
Results of the Ball indentation test method
- Ball indentation hardness, H [MPa]
- Force-deformation curve
Rockwell Hardness
This test method is used to determine the hardness of a test specimen as a function of the depth of indentation, taking the elastic recovery into consideration.
A steel ball with a defined applied load is pressed onto a test specimen and the load is then released again. Only the plastic deformation is observed. There are various Rockwell hardness scales that differ according to the combination of indenter and applied load.
Results of the Rockwell hardness test method
The Rockwell hardness is expressed as a number prefixed by the scale letter (R, L, M).
| Rockwell hardness scale | Indenter diameter [mm] | Applied load [N] |
|---|---|---|
| R | 12,7 | 588,4 |
| L | 6,35 | 588,4 |
| M | 6,35 | 980,7 |
Shore A and Shore D
These test methods are used to determine the hardness of plastics and elastomers.
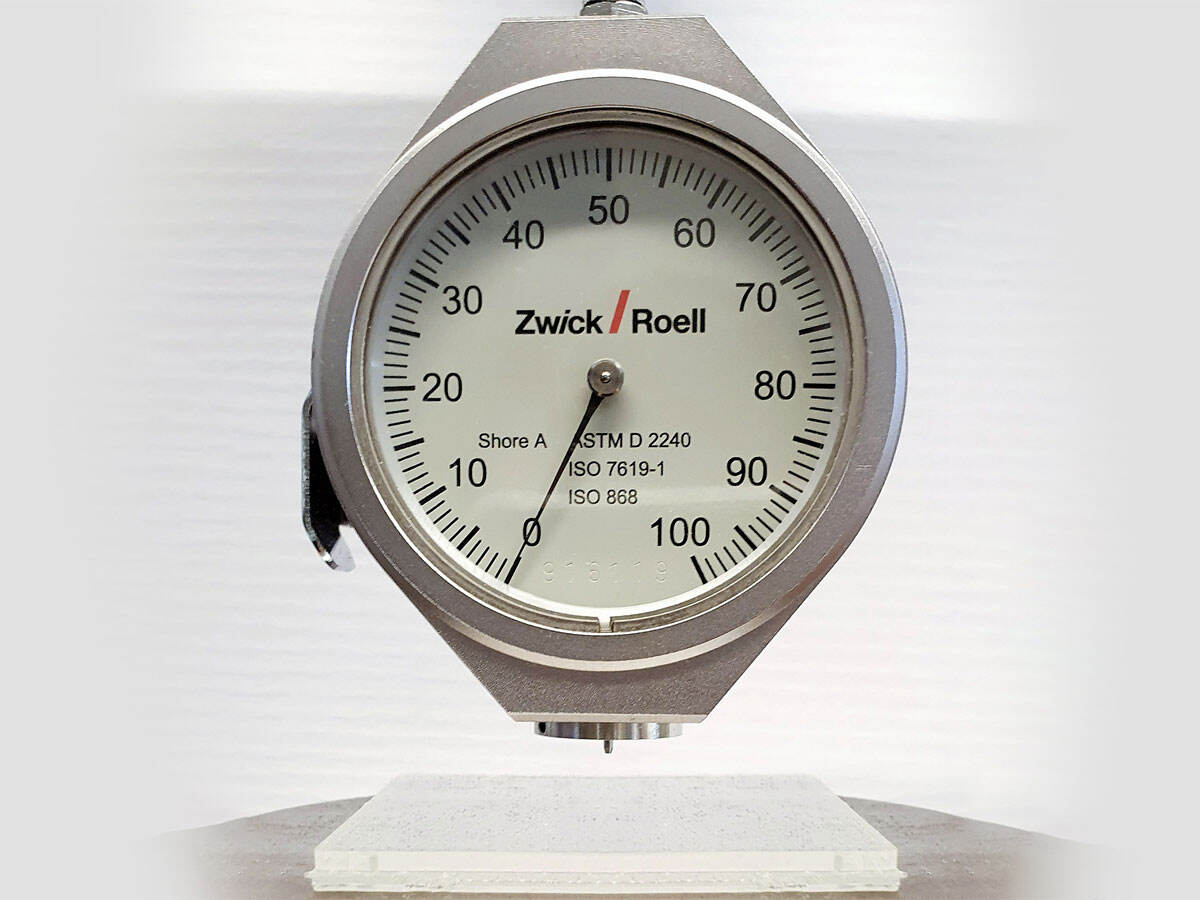
Shore hardness is a material parameter for elastomers. The Shore hardness apparatus consists of a spring-loaded indenter whose flexible indentation depth is a measure of the material’s Shore hardness; the hardness is measured on a scale from 0 to 100. A high number means a large hardness.
Shore A is specified for softer elastomer measurements using a needle with a blunted point.
Shore D is specified for harder elastomer measurements using a needle that ends with a 30° point angle and is not blunted.
Ball Drop Test
Test method for determining adhesion at low temperatures
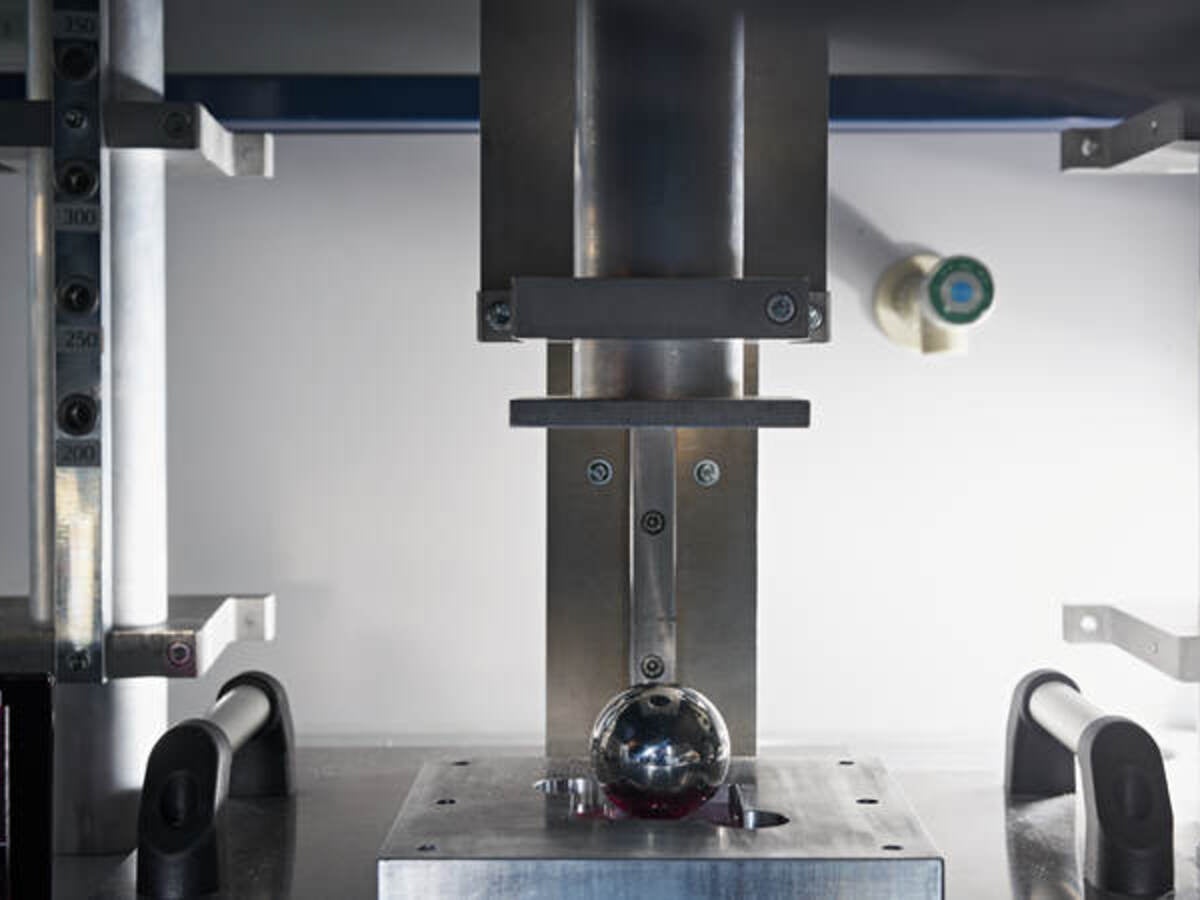
The ball drop test is used for determining the penetration resistance and flexibility of coatings at fast deformation (e. g. susceptibility to breaking and cracking). This test can be performed from-40 ° C to all required temperatures.
Common standards for ball drop test
PV 3905, PV 3971, or equivalent standards
Static and Permanent Elongation
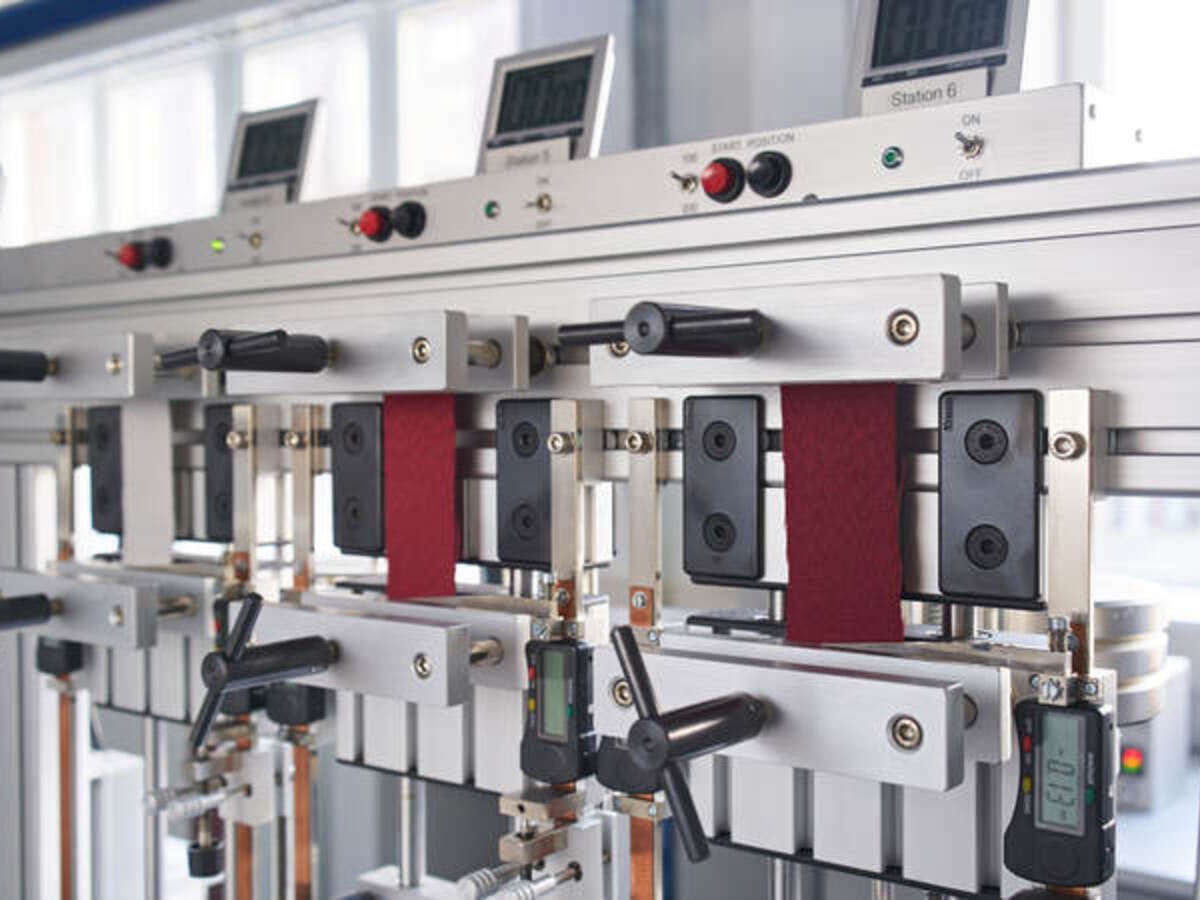
This test method describes a procedure for testing the static and permanent elongation of textiles, films, synthetic leather and insulating materials under defined conditions.
Static elongation is the difference between the measuring length at the static (constant), time-dependent load and the output measurement length of the sample (before attaching the load). Permanent elongation is defined as the difference between the measurement length after a defined time at the unloaded condition and the measurement length of the original sample.
Common standards for static and permanent elongation
PV 3909 or equivalent standards
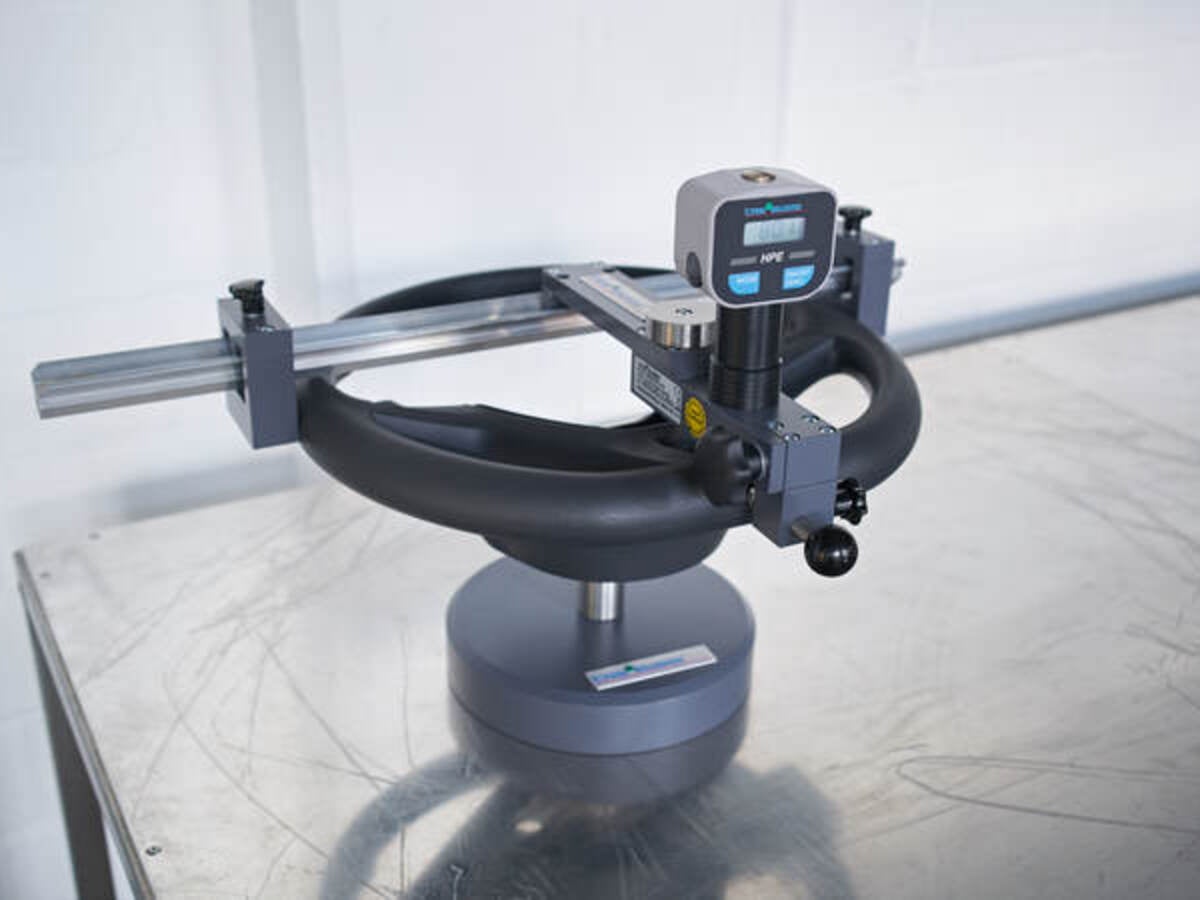
Steering Wheel Hardness
The foam hardness measurement is used for the comparative assessment of the material hardness on steering wheels from PUR foam with and without a leather cover.
Shore hardness is understood to mean the resistance to penetration by a body with a specific shape under a defined spring force.
Common standards for steering wheel hardness
PV 3931, DIN 53 505, or equivalent standards
Permanent Deformation
Test methods to determine the compression set and relaxation properties after constant deformation of elastomer seals.
The test method is indicative of the elastic properties of elastomer seals taking into consideration material properties, seal geometry, simulated installation position and static strain simulation in the car at defined temperatures and test times.
Common standards for permanent deformation
PV 3363 or equivalent standards


