UL Materials Testing and Certification (English)
UL Solutions testing can include the determination of a wide variety of material properties including physical characteristics such as the dimensional stability at elevated temperatures, the density or the level of contained water of polymers as well as the scratch resistance of surfaces.

Plastic materials do not always absorb water to the same degree, so that their physical characteristics may change. This can be achieved by immersing the test specimens in water at a defined temperature for a defined period. The number and geometry of the specimens depends on the testing method to be applied.
Standards for Water Exposure
UL 746A, the Standard for Polymeric Materials - Short Term Property Evaluations; ASTM D1042; ISO 2796
This test method helps determine dimensional stability under stress at elevated temperatures.
It analyses the relationship between the degree of deformation and the temperature when the test specimen is subjected to a constant load.
Standards for ball pressure test
UL 746A, IEC 60695-10-2 or equivalent standards
Results of the ball pressure test method
Test specimen 127 mm x 12.7 mm x 3 mm
Temperature range 23 °C–300 °C
Ball diameter 5 mm
Duration of test. 60 min
Weight 20 N
Temperature at which the ball produces an indentation measuring 2 mm in diameter
The NanoFlash test method provides contact-free determination of materials’ thermal diffusivity α (alpha).
Given the material’s specific heat capacity cp and density ρ (rho), one can calculate the thermal conductivity λ (lambda), which is important for heat-balancing engineering parts. The local, direction-dependent thermal conductivity properties can be detected for anisotropic materials with a resolution of 1 mm diameter.
Test specimens must have a flat surface and a thickness of up to 3.2 mm.
Scanning a surface requires minimum dimensions of 60 mm x 60 mm while single measurements need a minimum surface of 8 mm x 8 mm.
Standards for NanoFlash test method
ASTM E1461 Active
EN ISO 22007 - 1:2017 (NanoFlash-Light)
or equivalent standards
The method for determining density depends on the type of material as well as on the size and shape of the specimen. Another criterion is the required degree of precision. The density is determined from the calculated volume and the mass of the specimen and is given in g/cm³.
Hydrometer method
This method uses solid specimens or specimens from moldings. The volume is calculated by dispersing and agitating the solid in distilled water or another suitable liquid.
Degree of precision: Three decimal places
Apparent density
One can calculate the apparent density of granular, powder or free-flowing materials, given in g/cm³, by filling a measuring beaker with a defined volume of the specimen and weighing it according to the method described in the standard. Among other things, the apparent density provides a starting point for calculating a cavity’s dimensions when processing injection molding compounds.
Standards for determining density
DIN EN ISO 1183-1
DIN EN ISO 60
DIN 53479
ASTM D792
or equivalent standards
This method helps determine the amount of water in a test specimen.
The specimen is heated, releasing the water contained in the plastic to be analyzed. The evaporated water is then fed into a Karl Fischer reaction solution using dried nitrogen. Coulometric titration determines the water content, noted by percentage.
Determination of water content
The level of moisture present in plastics has a major impact on MVR measurements, for example. Residual moisture often leads to polymer chain degradation, expressed as a higher MVR value. This is why it is necessary for the client to specify the drying time and temperature of the product concerned before UL Solutions can start the test.
Standards for determining water content
DIN EN ISO 15512
or equivalent standards
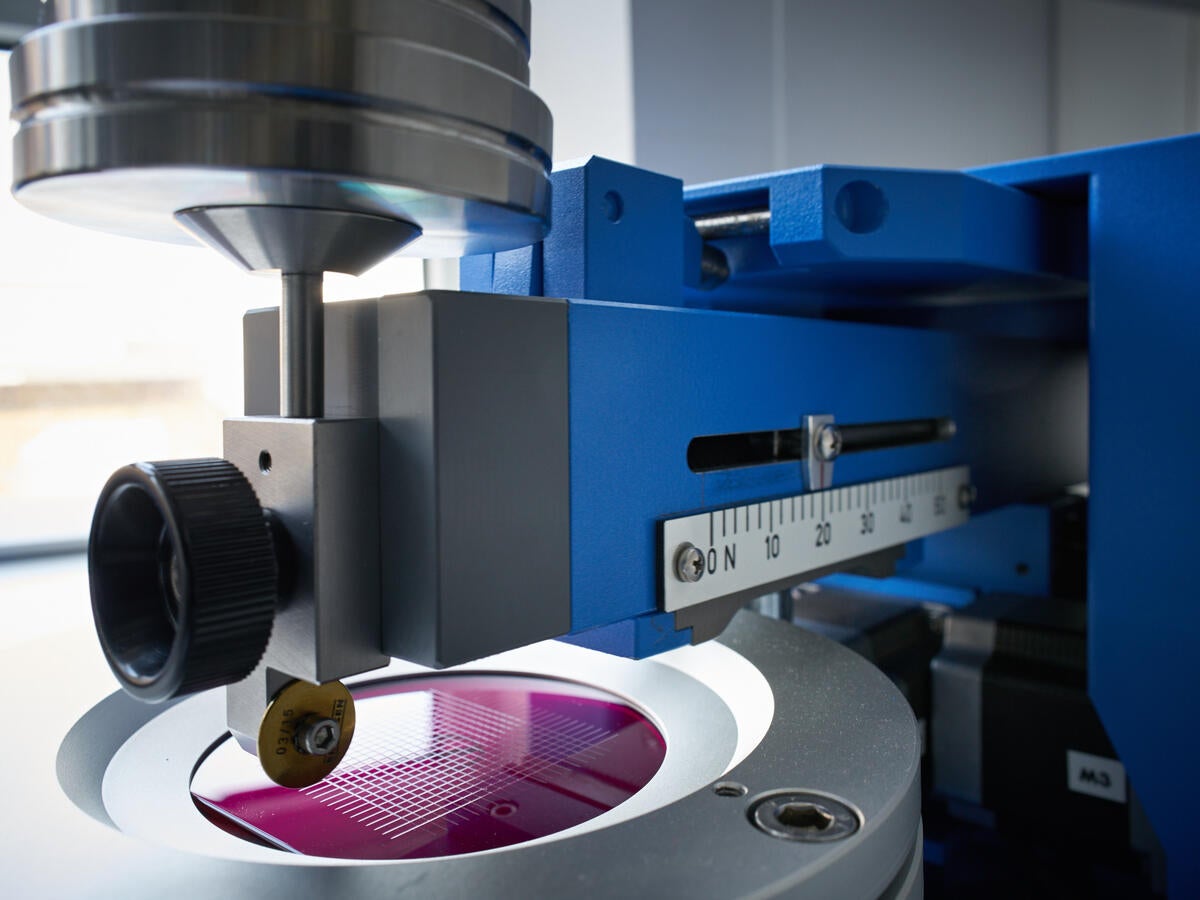
A test method that simulates an abrasive load on surfaces helps determine materials’ scratch resistance. An air flow accelerates small particles (e.g., sand) before they hit the surface to be tested.
Other standard tests have so far failed to simulate realistic loads — for instance, the slipstream of a car travelling at speeds of up to 90 mph.
The client can freely select the most important parameters required for this test method, such as flow velocity, impact angle and particle size and mass, and adapt them to each specific task according to the relevant client specifications without any additional effort.
Since this patented method mainly addresses glazing tests, the specimens are subsequently assessed using optical haze and transmission measurements.

UL Materials Testing and Certification (English)
Thanks for your interest in our products and services. Let's collect some information so we can connect you with the right person.