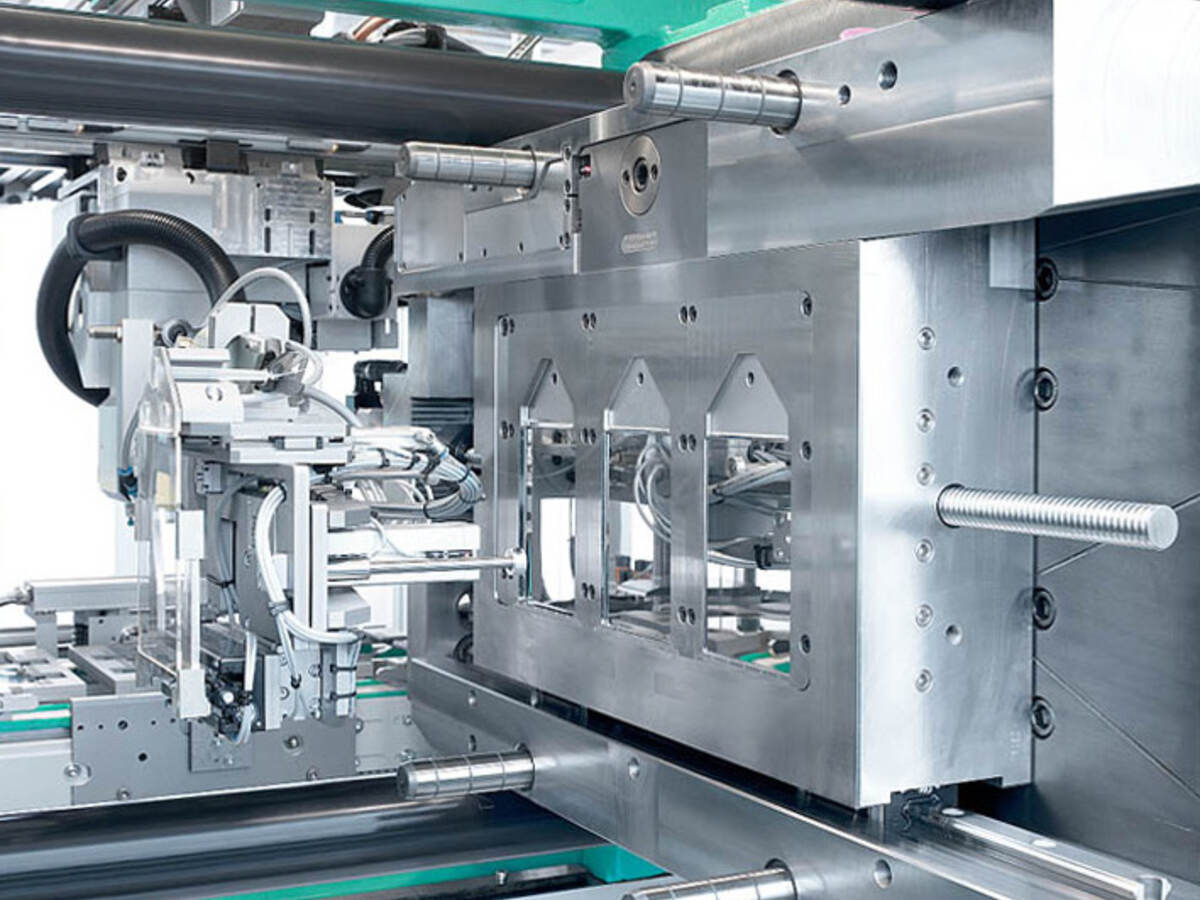
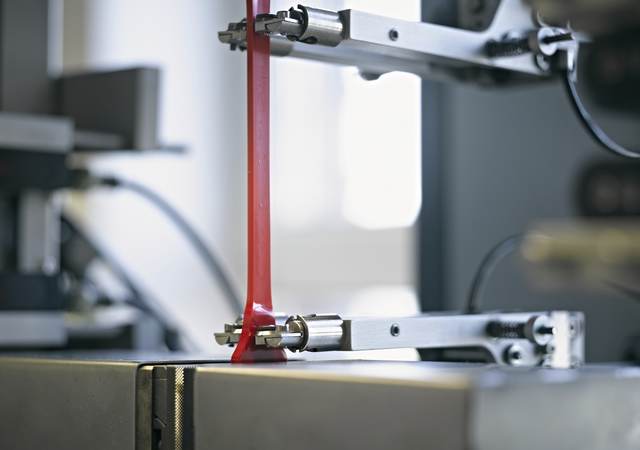
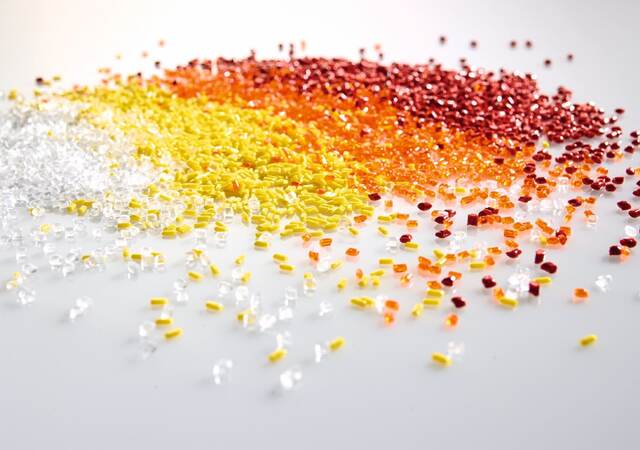
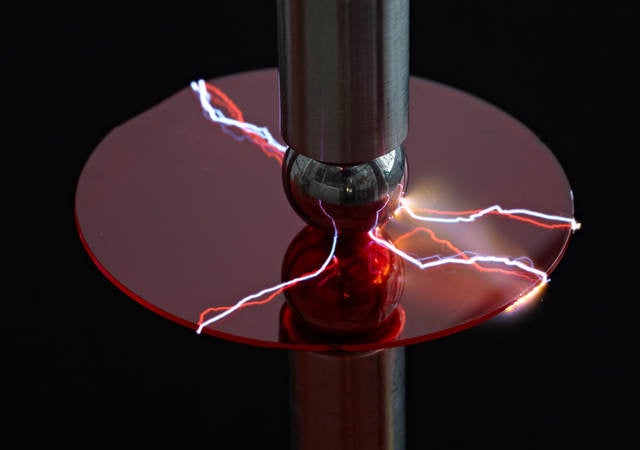
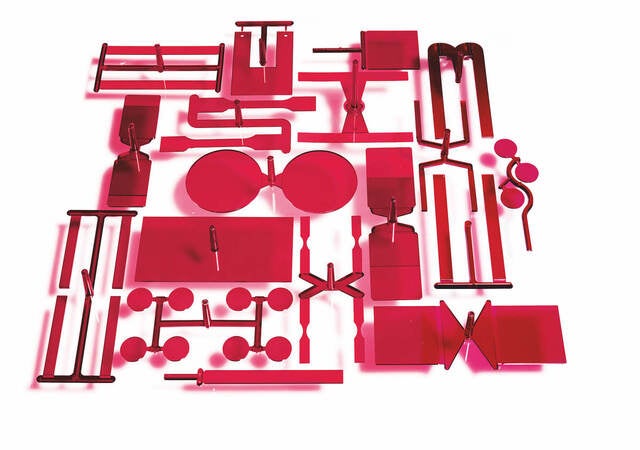
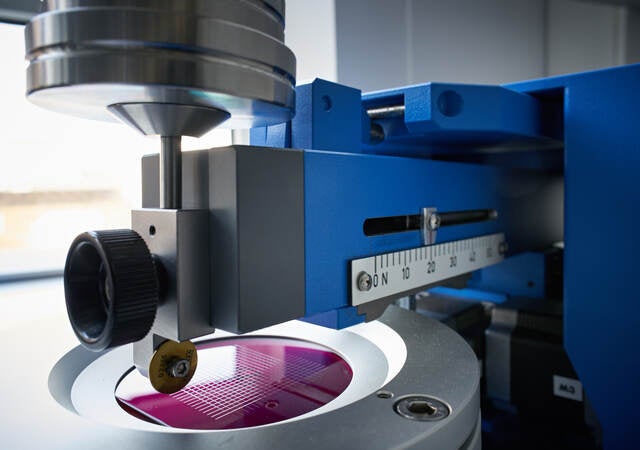
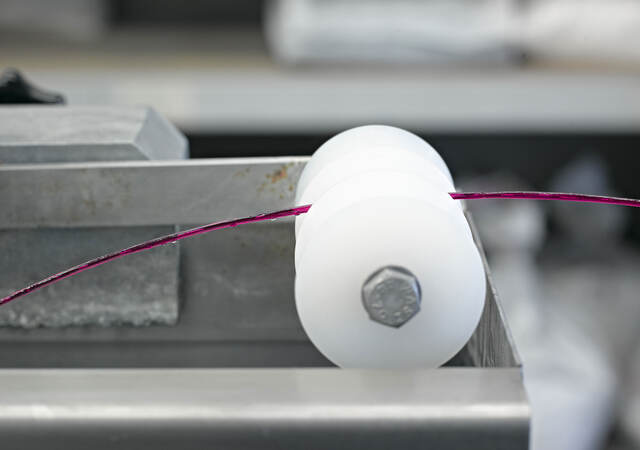
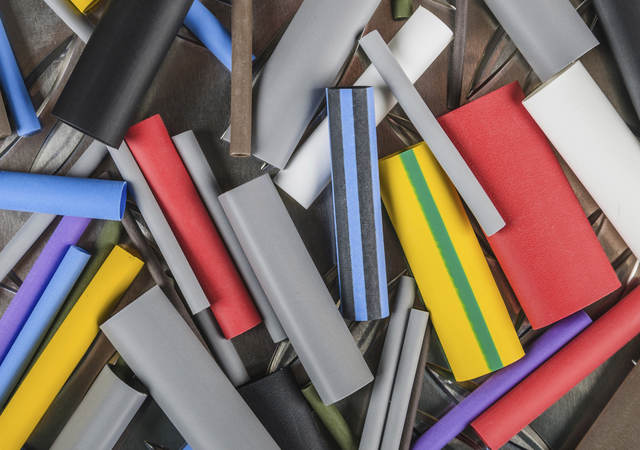
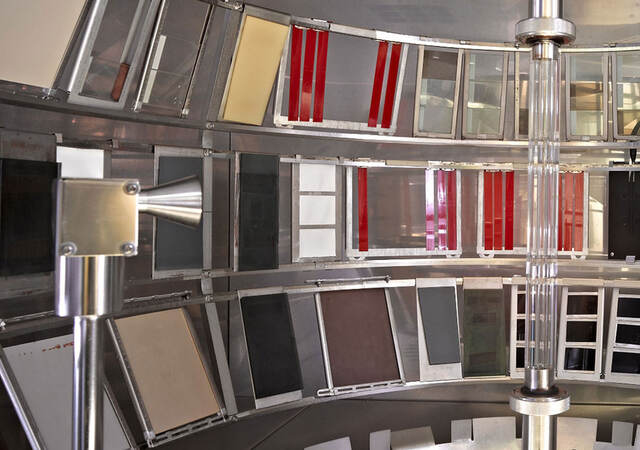
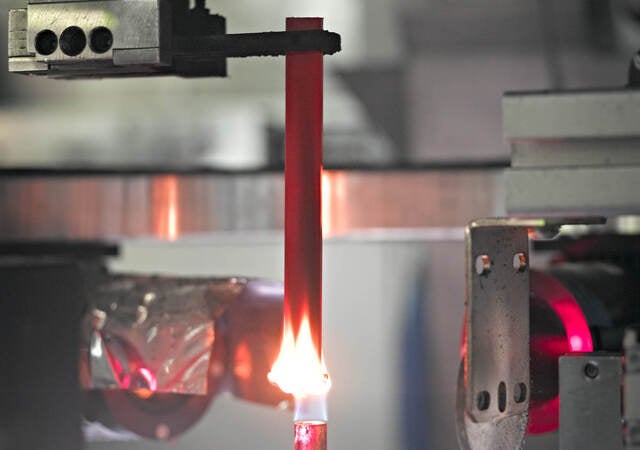
The specimens are manufactured with the aid of insert molds in order to provide maximum possible flexibility and short set-up times. Optimal connections and the use of our process data acquisition system UL Solutions Mold-Control ensure consistently high quality and absolute reproducibility.
The test specimens produced in our facilities are then dispatched to our various internal laboratories for testing.
Benefit from our material sourcing service
You do not have the means to deliver or purchase the material needed for the production of your test specimens? Benefit from our material sourcing capabilities and let us handle this step of the process for you.
From material supply and test specimen production to testing and certifying your materials or components: Let us be your single source solution!
- ISO test specimens
In our laboratory, ISO specimens are produced using the injection molding process.
Test Specimens
Test Specimens Dimensions Cavities Dumbbell 170 x 10 x 4 2 Flat test specimen 80 x 10 x 4 4 Rectangular Sheet 1 60 x 60 x 1 2 Rectangular Sheet 2 60 x 60 x 2 2 ASTM-Bar 0,8 127 x 12,7 x 0,8 2 ASTM-Bar 1,6 127 x 12,7 x 1,6 2 ASTM-Bar 3,2 127 x 12,7 x 3,2 2 ASTM-Bar 6,4 127 x 12,7 x 6,4 2 All dimensions in mm.
- ASTM and UL Solutions test specimens
ASTM and UL Solutions test specimens are produced by injection molding.
ASTM test specimens
Basic dimensions Cavities Thickness 127 x 12,7 x d 2 0,8 – 6,4 All dimensions in mm.
UL Solutions test specimens
Basic dimensions Cavities Thickness 125 x 13 x d 2 0,75 – 6,4 All dimensions in mm.
Sheets for UL 94 5V
Basic dimensions Cavities Thickness 150 x 105 x d 1 Thicknesses on request All dimensions in mm.
- Sheet production - rectangular sheets
All rectangular sheets are produced by injection molding.
Rectangular sheets
Rectangular sheets Dimensions Cavities Sample sheet 60 x 40 x 2
60 x 40 x 42 Sample sheet with step 60 x 40 x 4/2-step 2 Sample sheet 75 x 50 x 2
75 x 50 x 42 Sample sheet 75 x 50 x 3/2 +
4/1-step2 Rectangular sheet 155 x 75 x 2,3
155 x 75 x 2,3
with hole
155 x 75 x 2,3
with hole and fillet1 Rectangular sheet 60 x 60 x 1
60 x 60 x 2
60 x 60 x 32 Rectangular sheet 150 x 38 x 2 2 All dimensions in mm.
150 x 105 x d sheets, variable thickness
Basic dimensions Cavities Thickness 150 x 105 1 Aviable wall thicknesses:
1,0 / 1,2 / 1,5 / 2,0 / 2,2 / 2,4 / 2,5 / 2,7 / 3,0 / 3,2 / 4,0 / 6,0 / 10,0
Other thickness on requestAll dimensions in mm.
150 x 150 x d sheets
Basic dimensions Cavities Thickness 150 x 150 1 Aviable wall thicknesses:
2,0 / 2,5 / 3,0All dimensions in mm.
Optical quality
Basic dimensions Cavities Thickness 150 x 105 1 1,5 / 1,6 / 2,0 / 3,0 / 3,2/ 4,0 /6,0 /6,4 All dimensions in mm.
250 x 105 x d or 220 x 140 x d sheets
Basic dimensions Cavities Thickness 250 x 105 1 1,6 / 2,3 / 3,2 / 6,4 220 x 140 1 4,0 All dimensions in mm.
sheets with grain surfaces
Basic dimensions Cavities Thickness 150 x 105 1 3,0 / 3,2 220 x 140 1 4,0 All dimensions in mm.
- Sheet production - round sheets
All round sheets are produced by injection molding.
Round sheets 25 x 1,7
Basic dimensions Cavities Thickness Diameter 25 x 1,7 8 1,0 / 2,0 / 3,0 / 4,0 All dimensions in mm.
Round sheets 60 x d
Basic dimensions Cavities Thickness Diameter 60 x d 2 1,0 / 2,0 / 3,0 / 4,0 All dimensions in mm.
Round sheets 80 x d
Basic dimensions Cavities Thickness Diameter 80 x d 2 0,5 / 0,8 / 1,0 / 1,2 /
1,5 / 1,6 / 2,0 / 2,5 /
3,0 / 3,2 / 4,0All dimensions in mm.
Round sheets 100 x d
Basic dimensions Cavities Thickness Diameter 100 x d 2 0,75 All dimensions in mm.
- Sheet production - shrinkage sheets
All shrinkage sheets are produced by injection molding.
Rectangular sheets
Basic dimensions Cavities 60 x 60 x 2 2 150 x 105 x 3 1 All dimensions in mm.
- Testing sheets
Advantages at a glance
- High gloss polished surface for coating development
- Chamfered edges to minimize peeling effects
- Surfaces without fouling or scratches
- Continuous documentation of the injection molding process
- Fully automated sheet production
- Separate packaging and labeling of the sheets
- Sheets in various geometries:
150 x 105 mm
250 x 105 mm
220 x 140 mm
- Test specimens from finished components
The processing and orientation characteristics of plastic parts have a major influence on the mechanical properties of the material to be processed.
In order to obtain test specimens from injection moldings or extruded material, they are prepared from the finished parts by means of high speed cutting.
The required flow direction and orientation or the influence of processing on the plastic part, for example, can be determined in this way. Dumbbell and flat test specimens are the most common types of milled specimen. They exhibit the smallest deviation compared to equivalent injection-molded products.
- Specialty test specimens
Flat test specimens
Flat test specimens Dimensions Cavities Flat test specimens 50 x 6 x 4 4 Flat test specimen 60 x 10 x 1 4 Flat test specimen 63,5 x 12,7 x 3,2 4 Flat test specimen 80 x 10 x 1 2 Flat test specimen 80 x 10 x 3 2 Flat test specimen 80 x 10 x 4 Weld line 4 Flat test specimen 120 x 10 x 4 4 Flat test specimen 120 x 15 x 4 4 All dimensions in mm.
Dumbbell test specimens
Dumbbell test specimens Dimensions Cavities Dumbbell test
specimen Type L63,5 x 3,2 x 0,8 4 Dumbbell test
specimen Type L63,5 x 3,2 x 1,5 4 Dumbbell test
specimen Type L63,5 x 3,2 x 3,0 4 Dumbbell test
specimen Type S63,5 x 3,2 x 0,8 4 Dumbbell test
specimen Type S63,5 x 3,2 x 1,5 4 Dumbbell test
specimen Type S63,5 x 3,2 x 3,0 4 Dumbbell test
specimen 50%85 x 5 x 1,5 2 Dumbbell test specimen 105 x 6 x 1,5 2 Dumbbell test specimen 105 x 6 x 2,0 2 Dumbbell test specimen 105 x 6 x 3,0 2 Dumbbell test specimen 105 x 6 x 4,0 2 Dumbbell test specimen 105 x 10 x 0,75 1 Dumbbell test specimen 105 x 10 x 1,5 1 Dumbbell test specimen 105 x 10 x 3,0 1 Dumbbell test
specimen 70 %120 x 7 x 2,0 2 Dumbbell test specimen 130 x 10 x 1,5 2 Dumbbell test specimen 130 x 10 x 2,0 2 Dumbbell test specimen 130 x 10 x 3,0 2 Dumbbell test specimen 130 x 10 x 4,0 2 Dumbbell test specimen 170 x 10 x 1,0 1 Dumbbell test specimen 170 x 10 x 1,5 1 Dumbbell test specimen 170 x 10 x 2,0 1 Dumbbell test specimen 170 x 10 x 3,0 2 Dumbbell test specimen 170 x 10 x 3,2 2 Dumbbell test specimen 170 x 10 x 4 Bindenaht 2 Dumbbell test
specimen ASTM
ASTM D638 Type1170 x 10 x 3,2 2 All dimensions in mm.
Specialty molds
Specialty molds Dimensions Cavities Flow spiral, flat 1.170 x 8 x 2,0 1 Flow spiral, flat 1.150 x 5 x 2,0 1 Flow strip 400 x 50 x 0,5 1 Flow strip 400 x 50 x 0,7 1 Flow strip 400 x 50 x 1,0 1 Flow strip 400 x 50 x 1,5 1 Flow strip 400 x 50 x 2,0 1 Flow strip 400 x 50 x 3,0 1 Wedge-shaped test specimen 115 x 3-8 2 All dimensions in mm.
- Thin wall test specimens
All test specimen are produced by injection molding.
Thin Wall Test Specimens
Dimensions Cavities Thickness 60 x 60 1 0,4 / 0,5 / 0,6 / 0,7 / 0,8
0,9 / 1,0125 ± 5 x 13 ± 0,5 1 0,4 / 0,5 / 0,6 / 0,7 / 0,8 All dimensions in mm.
- Determination of processing data: injection pressure
The injection pressure is the cavity pressure which is measured near the gate. It is applied to fill the mold cavity.
In the pressure curve, it is a characteristic kink between the mold filling and packing phases that can be determined by process data acquisition. This is carried out using suitable molding geometries (preferably a dumbbell test specimen).
The red curve in the graph shows the rise in cavity pressure at a constant injection rate. At the end of the mold filling phase, the calculated injection pressure is present and the packing phase (blue curve) begins.
The dumbbell test specimen is shown above the curve to illustrate the filling phase and the position of the pressure sensor.
- Determination of processing data: gate open time
The gate open time is the time the melt takes to solidify in the injection mold.
During this time, the thermal volume contraction of the cooling molding is compensated by the holding pressure and the shrinkage of the molding is therefore minimised. Once the gate has been sealed, the holding pressure can be switched off because it can no longer be transferred to the mold cavity due to the solidified sprue. A longer holding pressure time would simply extend the cycle time unnecessarily rather than further increasing the weight of the molding.
The gate open time is normally determined by gradually extending the holding pressure time until the weight of the molding is constant. A more rational and more precise way to determine the gate open time is to use the “sealing index” in the MCS system for process data processing. The sealing index is calculated from the pressure transfer function between the hydraulic pressure and the cavity pressure and replaces the traditional weight measurement. A sealing index of 100% indicates complete solidification of the melt in the injection mold and marks the end of the gate open time.
- Determination of processing data: metering performance
If the screw shape is fixed, the metering performance (plasticising capacity) of a material can be one of the parameters that determine the cycle time in the injection molding process. It describes the volume flow rate from the hopper to the space in front of the screw in the plasticising unit and is given in cm³/min.
Get in touch
Have questions, need specifics? Let's get this conversation started.


